The night before
Move your cars out of the driveway. The crew needs room for their truck, trailer, and a dumpster or roofing debris bins. They may also need space to stage materials. Leaving cars nearby risks debris damage from falling shingles.
Take down anything on the garage walls or near exterior walls that could fall from vibration — tools on pegboards, hanging shelves, pictures on interior walls near the roofline. The nail guns create substantial impact and things shift.
If you have pets, plan to keep them indoors or away from the yard all day. The noise is significant and the crew will be working around the perimeter throughout.
Morning: arrival and setup
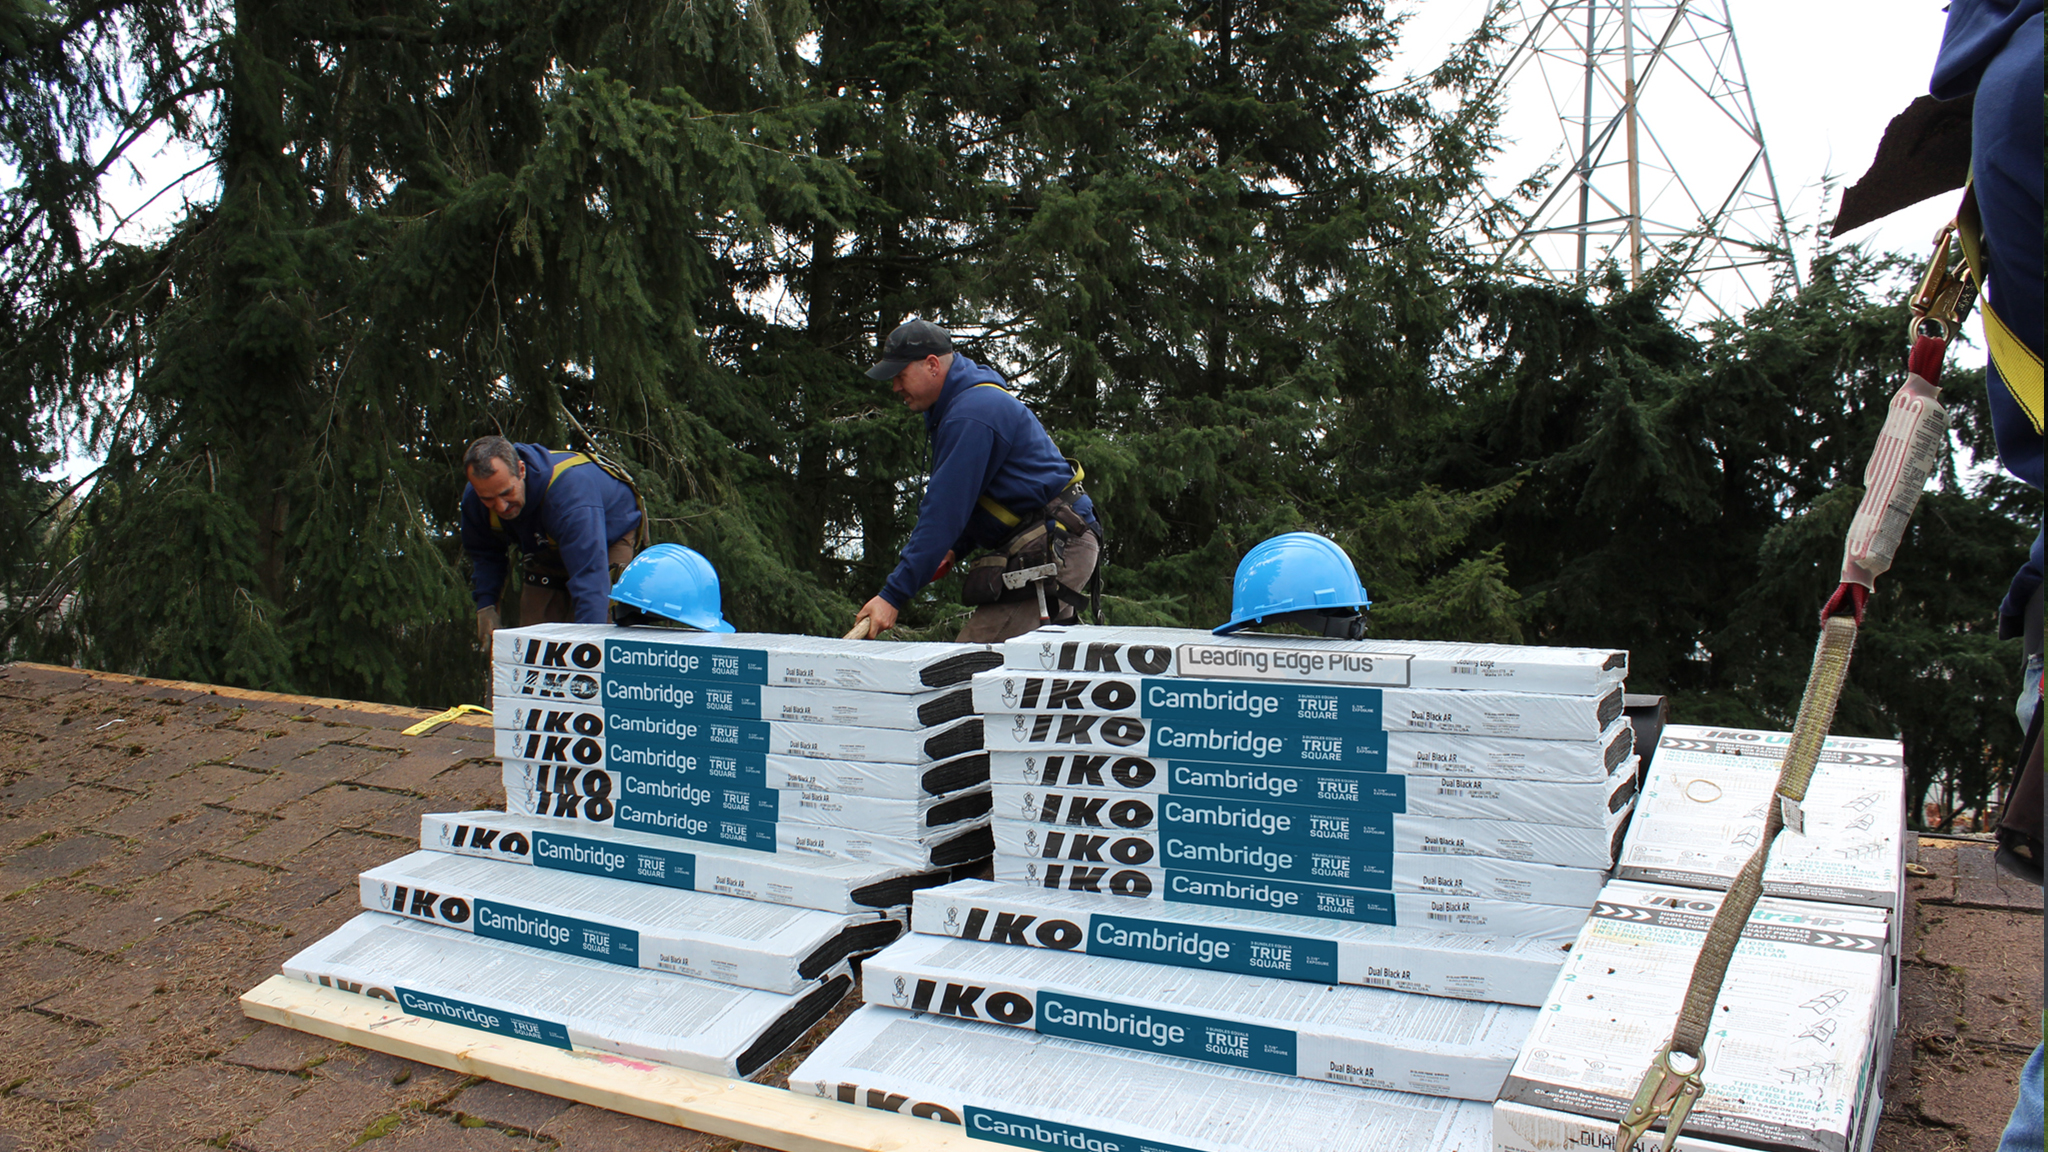
The crew typically shows up between 7 and 8am. First thing is setup — the truck positions near the house, the compressor gets running, and materials are staged at the base of the roof. Tarps go down over garden beds and anything near the foundation to catch debris.
A good foreman will briefly walk the job with you before starting. That's the time to ask any last questions, confirm the materials being installed, and note anything you want them to be careful around — solar panels, skylights, a fragile chimney.
Professional crews protect landscaping and foundation plantings before tear-off begins. Ask about this before work starts if you have anything fragile near the house perimeter.
Tear-off: the loudest part
Tear-off is when old shingles come off. It's the noisiest phase — think sustained heavy impact sound. A full crew can strip a typical home in two to three hours. The shingles go directly into the dumpster or off the edge via a dump chute.
Once the old material is off, the crew inspects the decking underneath. This is when you find out about any rotted or damaged boards. A reputable contractor will show you what they found and get your approval before replacing anything. Each sheet replaced adds to the cost — usually $2 to $5 per square foot — but it's structural work that can't be skipped.
Underlayment and ice and water shield
Before any new shingles go on, two layers of protection go down. Ice and water shield is a self-adhering membrane that goes on the most vulnerable areas — eaves, valleys, around chimneys, and around any roof penetrations. It prevents water infiltration even if shingles above it are compromised.
Synthetic underlayment then covers the full roof surface. This layer protects the decking while shingles are being installed and provides a secondary barrier after installation is complete. Skipping either product is a corner-cutting move worth pushing back on if you see it happening.
Ask to see the ice and water shield going on. It's a critical layer and the difference between a leak showing up in five years and not showing up at all. If a crew is rushing through this step, say something.
Shingle installation
Shingles go on from the bottom up, each row overlapping the one below it. The pattern matters — improper offset between rows creates seams that water can find. An experienced crew moves in a coordinated rhythm that's actually satisfying to watch from a distance.
Flashing goes on as the crew reaches each penetration point — chimneys, vents, skylights, and anywhere two roof planes meet. This is the most skill-dependent part of the job. Flashing installed poorly is the primary cause of leaks on roofs that otherwise look fine. Watch that this step gets proper time and attention.
Ridge cap and final details
Ridge cap is the last material installed — the shingles that cover the peak where two slopes meet. Proper ridge cap installation protects against wind uplift and water intrusion at the roof's most exposed point. It should be nailed down correctly, not just laid on top.
After the last shingle is nailed, the crew does a final pass on flashing, checks all penetration points, and starts cleanup.
Cleanup and your final walkthrough
Any professional crew runs a magnetic roller across the yard and driveway to collect nails. Missed nails are a flat tire or a barefoot injury waiting to happen. Watch that this step actually happens before the crew leaves.
Walk the perimeter with the foreman. Check the gutters — they should be clear of debris and properly reattached if they were removed. Look at the ridge line, the flashing, and the base of the house. Get any permit documentation if permits were required in your area. And ask what the next steps are for warranty registration.
Things that shouldn't happen
Crew leaving before cleanup is finished.
New shingles going over old without a tear-off — unless specifically agreed and permitted.
No permit pulled for a job that requires one in your municipality.
Promises about fixing interior water damage — that's a separate contractor, not a roofing crew.
Pressure to sign a completion certificate before you've done your walkthrough.